A spring balcony garden checklist for beginners keeps the season from turning into a rushed shopping trip. Spring makes every plant bench look tempting, but a balcony has real limits: light changes by hour, containers dry faster than garden beds, wind can be stronger above ground, and building rules may affect where pots can sit.
The good news is that you do not need a complicated plan. You need a calm first pass through the space, a short list of containers that fit, and a few checks before seedlings come home. Use this checklist to prepare one small balcony garden that is easier to water, easier to move, and less likely to fail in the first warm week.
Why a Spring Balcony Garden Checklist Matters
Spring is the season when beginner gardeners often buy before measuring. A plant looks healthy at the nursery, but it may not match the balcony's sun, wind, pot depth, drainage, or daily care routine. A checklist turns those hidden constraints into simple decisions.
Start with the site, not the plant tag. Note where morning sun lands, where afternoon heat builds, where water can drain safely, and where you can reach each pot without climbing around furniture. If you are still learning the difference between bright direct sun and softer partial sun, PatioSprout's guide to full sun vs part sun on a balcony can help you read the space before choosing plants.
Start With the Balcony Itself
Before buying soil or seedlings, walk outside with your phone and make a few notes. A simple photo at morning, midday, and late afternoon can reveal whether the balcony is shaded by a roofline, warmed by reflected heat, or exposed to steady wind.
Check light before choosing plants
Most plant disappointment begins with mismatched light. Herbs, vegetables, and many flowers need several hours of direct sun, while shade-tolerant choices prefer softer light. In spring, nearby trees may not be fully leafed out yet, so remember that the same balcony can become shadier later.
Check rules, weight, and safe placement
If you rent or live in a shared building, check the lease, balcony rules, and any railing restrictions before hanging planters or placing heavy containers near edges. Keep pots inside the balcony footprint, leave walking space, and avoid anything that could drip onto a neighbor's area.
Check Containers, Drainage, and Soil
Good spring container gardening starts under the plant. A pretty pot without drainage can create soggy roots, and a tiny pot may dry so quickly that watering becomes stressful by the first hot weekend.
Illinois Extension explains that a drainage hole at the bottom of a container is critical because it allows excess water to leave and helps air remain available around roots: Illinois Extension container drainage guidance.
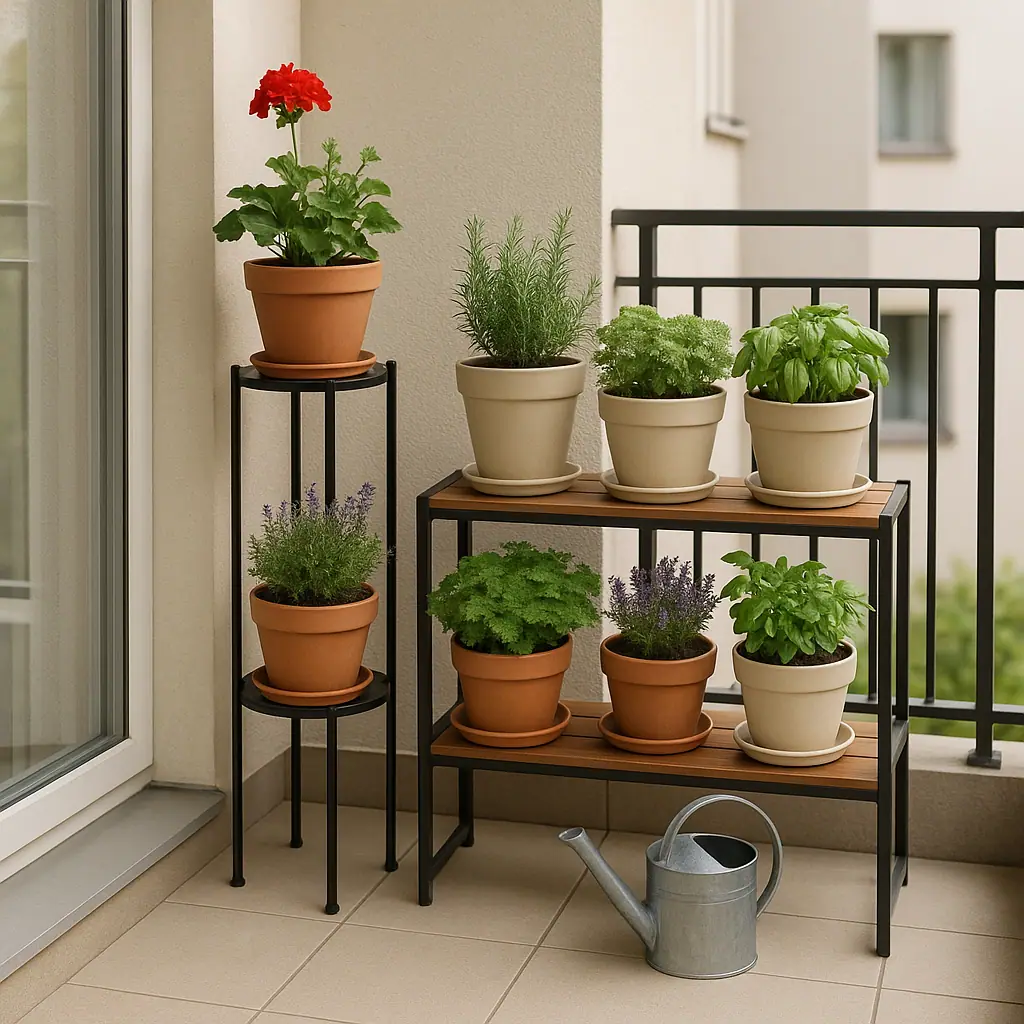
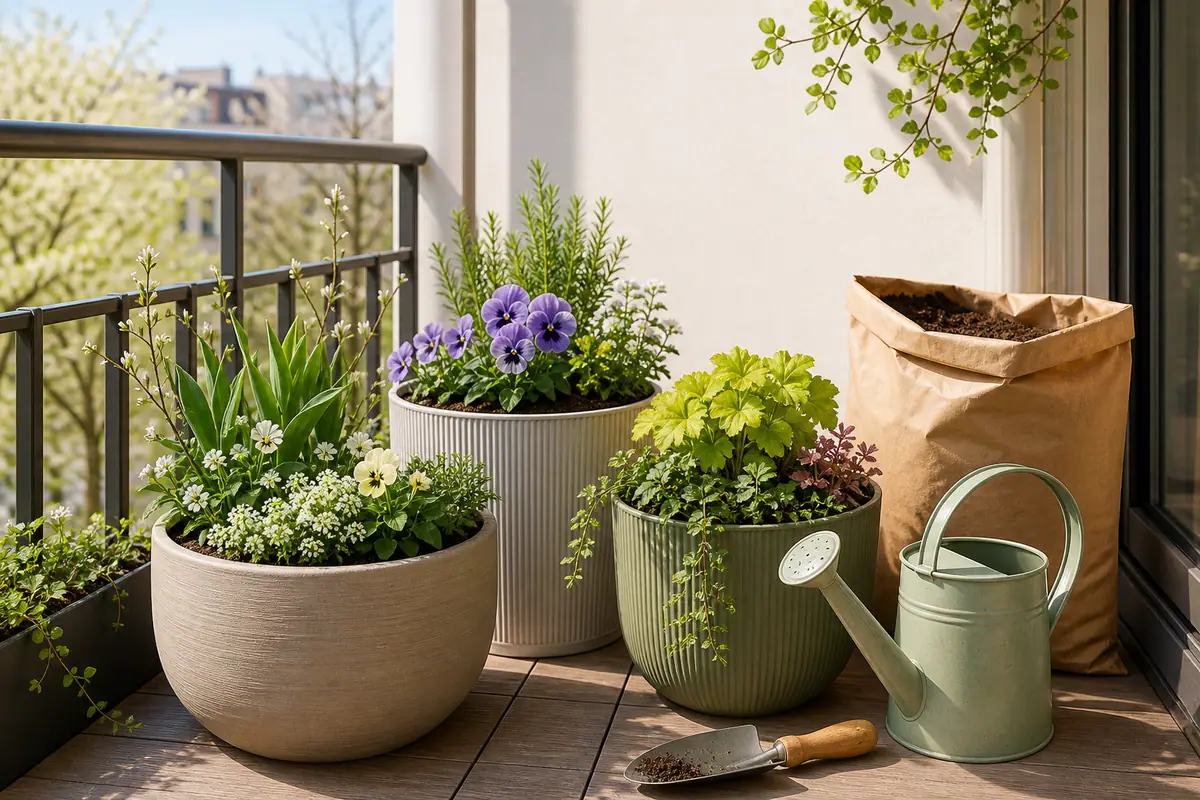
For a beginner setup, choose fewer containers and make each one easy to manage. Three medium pots are usually better than ten small pots scattered around the balcony.
- Drainage: each planting pot should have drainage holes, plus a saucer or tray you can empty when needed.
- Pot size: match pot depth to the plant. Herbs need less root room than tomatoes, peppers, or larger flowering annuals.
- Potting mix: use container potting mix, not heavy garden soil, because container roots need both moisture and air.
- Water path: test where water will go after a deep watering so it does not stain, pool, or drip downstairs.
- Moveability: use lightweight pots or plant caddies if you may need to shift plants for storms, heat, or building access.
Build a Practical Spring Setup
Once the balcony checks are done, build the garden in a small, repeatable order. This keeps the first weekend from becoming a pile of soil bags, half-filled pots, and plants waiting too long in nursery trays.
- Choose your first zone: pick one sunny or bright corner that is easy to reach with a watering can.
- Limit the first round: start with two or three containers so you can learn the watering rhythm before expanding.
- Group by water needs: keep thirsty plants together and drier herbs together so you are not guessing every morning.
- Fill pots carefully: moisten potting mix lightly before planting, then firm it enough to remove big air pockets without packing it hard.
- Leave a watering lip: keep the soil surface a little below the rim so water does not rush over the edge.
- Label privately if needed: use a plant map in your notes app instead of visible labels if you want the featured area to stay clean.
- Water deeply after planting: water until the mix is evenly moist and excess drains away, then empty saucers when practical.
Watering will change as weather warms. Illinois Extension notes that containers dry quickly and that water should reach the bottom of the container and drain out through the holes: Illinois Extension watering guidance for container gardens.
That does not mean every pot needs water every day in cool spring weather. It means you should check the mix, observe the plant, and water thoroughly when the container is actually ready.
Handle Spring Transplants With Care
Spring seedlings often come from protected greenhouse conditions. If they move straight into wind, sun, and cold nights, they can wilt or scorch even when the plant variety is technically right for the season.
Penn State Extension describes hardening transplants as the process of gradually preparing plants for outdoor conditions, using protected spots such as a porch while keeping starts watered: Penn State Extension guidance on hardening transplants.
For a balcony, hardening off can be simple. Put new plants outside for a short protected period, bring them back if nights are cold or windy, and increase exposure gradually. If the plant was already outdoors at the nursery, still watch it closely for the first few days because your balcony may be windier or hotter.
Watch the first week closely
The first week after planting teaches you more than the plant tag. Check soil moisture with your finger, look for drooping in afternoon sun, and note whether wind is drying the pot faster than expected. If summer watering is already on your mind, the PatioSprout guide to how often to water container plants in summer gives a useful preview of what will change as heat builds.
Pros and Cons of Starting Small in Spring
You learn your balcony faster
A small setup makes it easier to notice which corner dries fastest, which pot gets too hot, and which plant handles the wind.
You spend less before mistakes show up
Buying fewer containers first protects your budget while you test light, watering access, and building rules.
You can adjust the layout
Three movable pots are easier to rearrange than a crowded balcony full of heavy planters.
The garden may look sparse at first
A careful beginner setup can feel less dramatic than a full nursery display, especially before plants fill in.
You may need a second planting round
Once you understand the balcony better, you may want to add another pot or swap a plant that does not fit the conditions.
A Simple Spring Balcony Garden Checklist
Use this list before buying plants and again after the first week. It works best when you answer honestly instead of trying to make every plant fit the same spot.
- Light checked: you know which area gets morning sun, afternoon sun, part sun, or mostly shade.
- Rules checked: railing planters, hanging baskets, weight, dripping, and shared-space limits are clear.
- Water access checked: you can reach every pot with a watering can or hose without awkward lifting.
- Drainage checked: each pot drains, each saucer can be emptied, and water will not run where it should not.
- Pot size checked: containers are deep enough for the plants you chose and not too heavy to manage.
- Plant timing checked: tender plants are protected from cold nights and hardened off gradually when needed.
- Care routine checked: you know when you will inspect moisture, remove dead leaves, and turn or move pots if conditions change.
Common Spring Balcony Garden Mistakes to Avoid
The biggest mistakes are usually understandable. Beginners want instant color, edible herbs, and a balcony that feels alive after winter. The safer path is to slow down just enough to avoid repeating work.
- Buying plants before checking light: the wrong light match can make a healthy plant decline quickly.
- Using pots without drainage: decorative containers still need a way to keep roots from sitting in stagnant water.
- Starting too many tiny pots: small pots dry fast and can turn watering into a daily emergency.
- Forgetting wind: balconies can dry leaves, tip tall plants, and make lightweight pots unstable.
- Planting tender starts too early: cold nights and sudden sun can stress seedlings that were raised under protection.
- Ignoring access: if a pot is hard to reach, it will be harder to water, inspect, prune, and move.
Frequently Asked Questions
What should I check first for a spring balcony garden?
Check light and rules first. Once you know where pots can safely sit and how much sun that area gets, plant choices become much easier.
How often should I review this checklist?
Use it before shopping, after planting, and once a week for the first month. Spring weather changes quickly, so your watering and placement may need small adjustments.
What should I do if I am not sure a plant is safe for my balcony?
Pause and verify the plant's light, mature size, toxicity concerns, and local suitability through a trusted nursery, extension resource, or plant label before buying it.
Can I change the balcony garden later?
Yes. Container gardens are flexible. Start with movable pots, watch how they behave, and adjust the layout, plants, or watering rhythm as the season warms.
Final Thoughts
A spring balcony garden checklist for beginners is not about making the perfect garden on the first weekend. It is about creating a small setup that matches your real light, drainage, water access, rules, and energy.
Start with one corner and three manageable containers. Check the sun, choose pots that drain, harden off tender transplants, and watch the garden closely for the first week. Those simple habits make the rest of the season calmer and much easier to improve.