Drainage holes in pots look like a small detail, but they are one of the first things that make container gardening feel either simple or confusing. A patio plant lives in a limited amount of potting mix, so extra water needs a clear way to leave before roots sit in a soggy bottom layer.
For first-time container gardeners, the goal is not to memorize every pot type. The goal is to understand what drainage holes do, how to check a container before planting, and what to do when a pretty pot has no holes at all.
This guide explains drainage holes in plain language so you can start with safer containers, fewer watering surprises, and a patio setup that is easier to maintain.
Why Drainage Holes in Pots Matter
Drainage holes let excess water move out of the container after watering or rain. Without that exit path, water can collect below the root zone. Roots need both moisture and air, and a constantly wet mix can stress the plant even when the leaves look dry above the surface.
The University of Maryland Extension explains that containers need adequate drainage holes or slits so extra water can drain away and plant roots are not left in saturated conditions. Its guide to growing vegetables in containers is a useful reference for beginners comparing pots, saucers, and raised containers.
Start With Containers, Soil, and Drainage
Before you buy plants, look at the container from the bottom. Most nursery pots, plastic patio pots, grow bags, and terracotta pots have holes or porous sides that help water leave. Decorative cachepots, bowls, baskets with liners, and ceramic planters often do not.
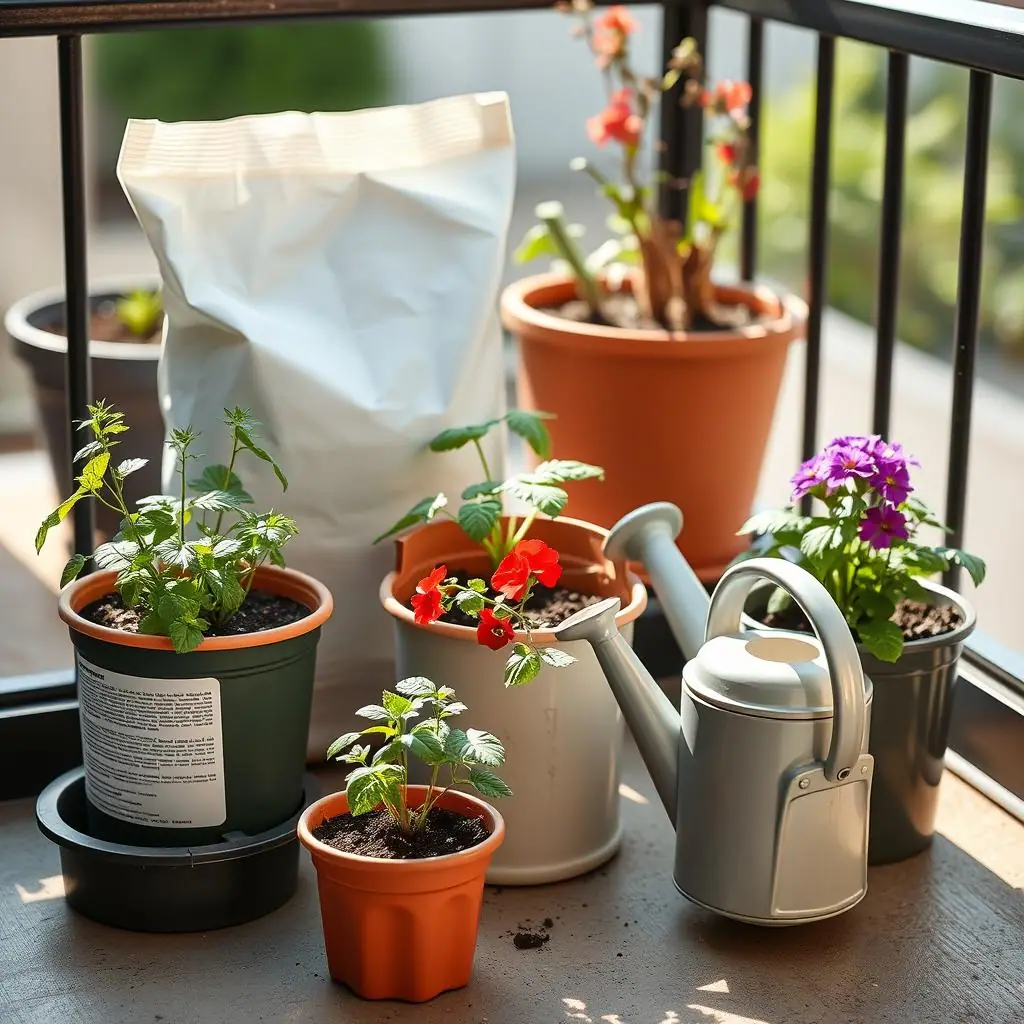
A container with drainage holes still needs the right potting mix. Heavy garden soil can compact in a pot and slow water movement. A lighter potting mix labeled for containers usually drains more evenly while still holding enough moisture for roots.
Drainage holes are not the same as dry soil
Good drainage does not mean the plant dries out instantly. It means excess water can escape after the mix has absorbed what it can hold. The potting mix should become moist, then gradually dry enough for the next watering.
Saucers help patios, but they need attention
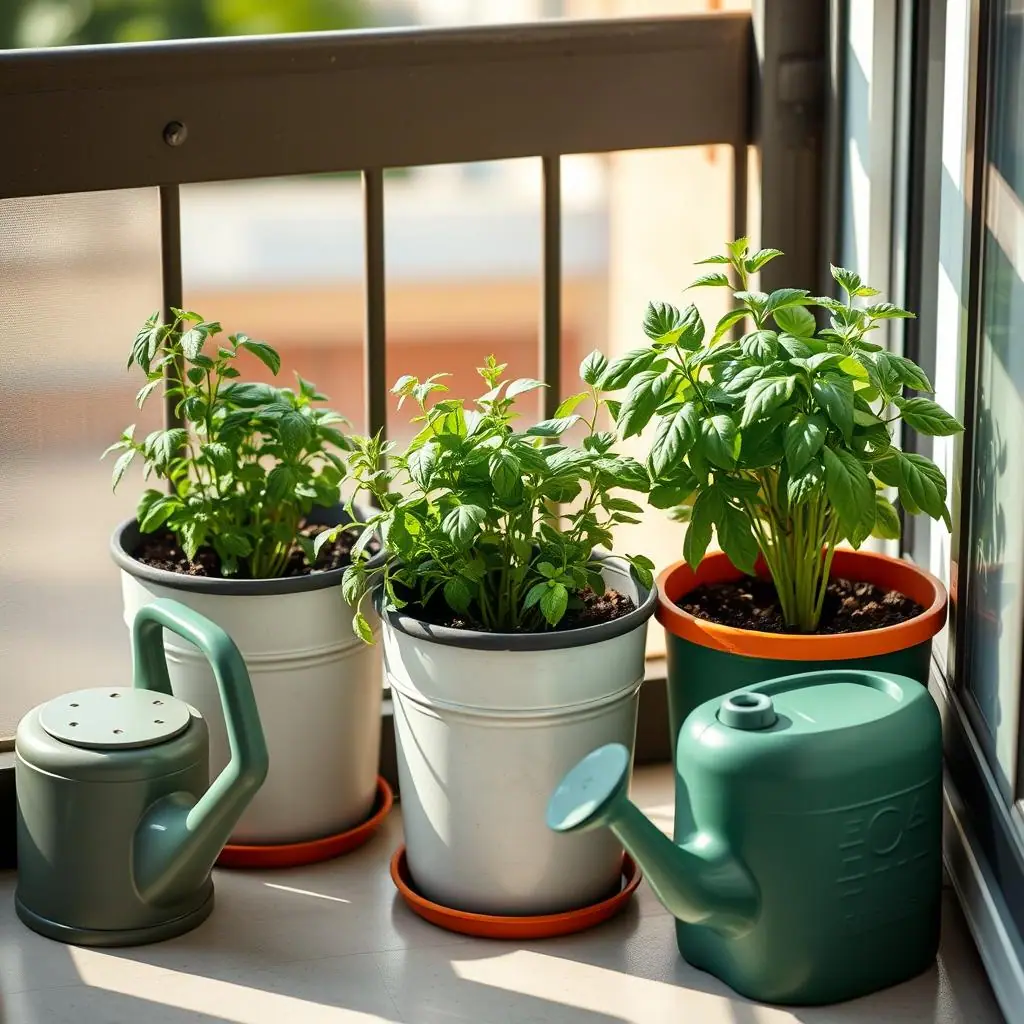
Saucers protect balcony floors and patio surfaces from drips, but they can also hold water under the pot. After watering, let the container drain, then empty standing water when practical so the pot is not sitting in a shallow puddle.
What to Check First Before Planting
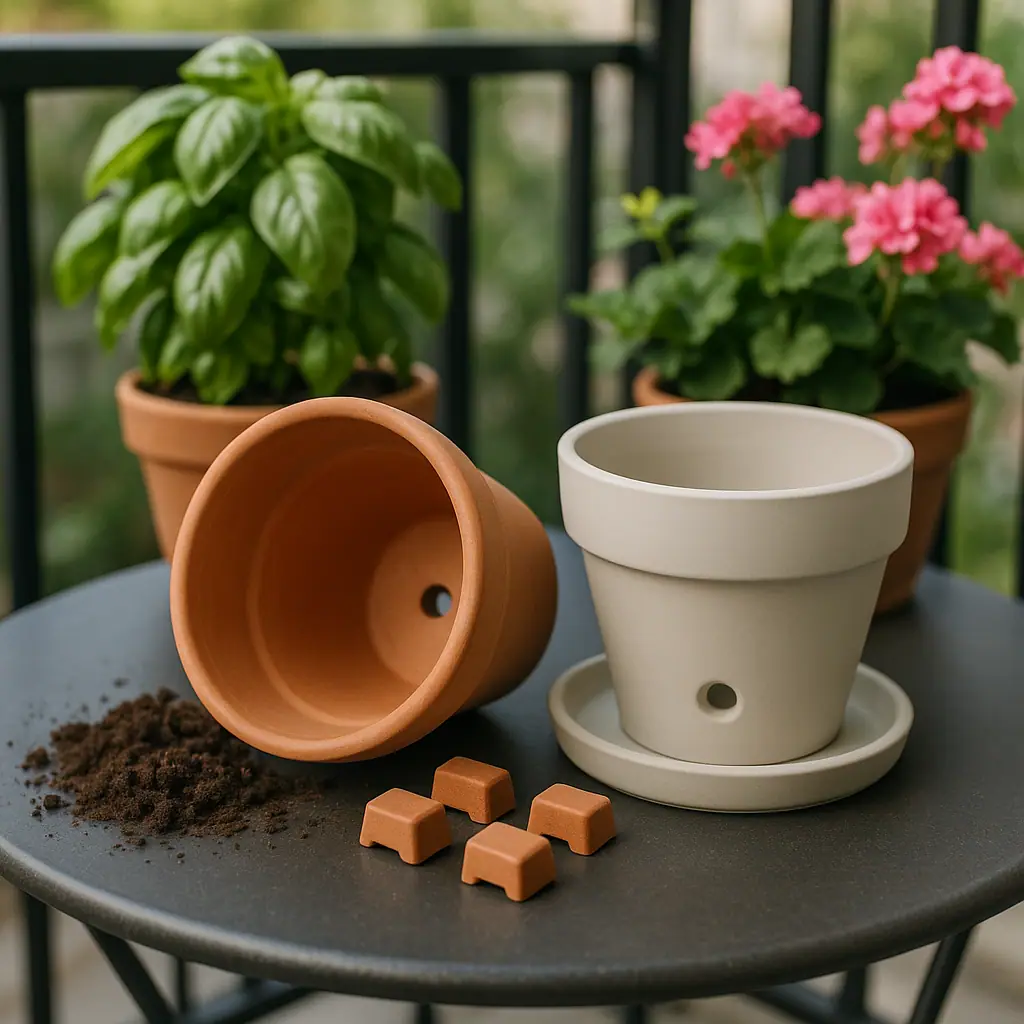
Set the empty container on a table or turn it carefully on its side. You are looking for a real drainage path, not just a decorative indentation. A few small holes may be enough for a small herb pot, while larger containers usually need multiple holes or slots spread across the bottom.
- Hole location: bottom holes let water leave at the lowest point. Side overflow holes are common in self-watering designs.
- Hole opening: holes should not be sealed by stickers, glaze, plugs, or thick liners.
- Raised base: a pot sitting flat on a patio may drain slowly if the holes are pressed against the surface.
- Saucer fit: the saucer should catch drips without keeping the pot submerged after every watering.
- Material: plastic, resin, wood, metal, terracotta, and ceramic containers all behave differently in heat and moisture.
How to Handle Drainage Holes Step by Step
Use this simple process for a new patio container. It keeps the decision practical and gives you a way to test the pot before a plant is already stressed.
- Inspect the bottom: confirm the container has holes, slits, fabric sides, or a designed overflow outlet.
- Test with water: pour a small amount of water into the empty pot outdoors and watch whether it drains freely.
- Raise the pot if needed: use pot feet, small blocks, or a plant stand if the holes press directly against the patio surface.
- Cover only large openings: if mix falls out, use a small piece of mesh, paper coffee filter, or broken pot shard. Do not seal the hole.
- Skip the gravel layer: rocks at the bottom do not replace drainage holes and can reduce useful root space.
- Plant with room at the top: leave space below the rim so water can soak in instead of running over the edge.
- Water once and observe: after planting, water until some drains out, then note how quickly the saucer fills and how long the mix stays wet.
Common Drainage Mistakes to Avoid
The biggest mistake is treating a decorative pot as a planting pot without checking the bottom. A no-hole ceramic container can still look beautiful, but it works better as an outer pot around a nursery pot that can be lifted out to drain.
The second mistake is trying to fix poor drainage with rocks. A gravel layer may seem logical, but it does not create the same effect as open holes. In a small patio container, it can also steal space that roots could have used.
- Planting directly in a sealed pot: use it as a cachepot instead, or choose a container with real drainage.
- Leaving saucers full: catch runoff, then empty standing water when the pot finishes draining.
- Using dense outdoor soil: compact soil can make a draining pot behave like a heavy, slow container.
- Blocking holes with liners: fabric, plastic, or decorative liners should not cover the only exit path.
- Ignoring rain: outdoor containers can become soaked after storms even if you did not water them.
Pros and Cons of Drainage Holes
Healthier root conditions
Drainage holes help excess water leave so roots are not trapped in constantly saturated potting mix.
Easier watering feedback
When water drains from the bottom, beginners can see that the mix has been watered through instead of only wetting the top.
More forgiving during rain
Outdoor pots with open holes can shed extra rainwater better than sealed containers.
Runoff needs planning
Water can stain surfaces, drip below a balcony, or collect in saucers if you do not plan where it goes.
Small pots dry faster
Drainage holes are helpful, but small containers in sun and wind may still need frequent moisture checks.
A Simple Drainage Checklist
Use this checklist before planting. It takes less than a minute and prevents many beginner container problems.
- Does the pot have open holes or slits? If not, use a nursery pot inside it or choose another container.
- Can water leave when the pot sits flat? If not, raise it slightly with pot feet or a stable stand.
- Is the saucer easy to empty? If it is hard to reach, it may become a hidden water tray.
- Is the potting mix made for containers? A light mix supports drainage better than dense garden soil.
- Will rainwater have somewhere to go? Outdoor containers need a plan for storms, not just normal watering.
- Does the plant tag mention special moisture needs? Some plants want drier roots, while others tolerate more consistent moisture.
When to Get Extra Help
Ask a local nursery, extension office, or building manager for help when a container is unusually large, heavy, placed on a balcony, or used for edible plants. Drainage is a plant-care issue, but weight limits, runoff rules, and local climate also matter.
Do not guess about drilling ceramic, glass, metal, or resin containers if you are not comfortable using the right tools. Cracked pots, sharp edges, and unstable balcony setups are not worth the risk for a beginner garden.
Frequently Asked Questions
Do all patio pots need drainage holes?
Most pots that hold plants directly need drainage holes or another designed overflow path. A sealed decorative pot is usually safer as an outer container around a draining nursery pot.
Can I plant in a pot without holes?
You can, but it is harder for beginners because extra water has nowhere to go. A better option is double-potting: keep the plant in a draining inner pot and place it inside the decorative container.
Should I put rocks in the bottom for drainage?
No. Rocks do not replace drainage holes and can reduce root space. Use a container with open holes and a potting mix made for containers.
How often should I check drainage?
Check every new container before planting, then review it after heavy rain, after moving pots, and whenever a plant stays wet or wilts even though the mix feels damp.
Final Thoughts
Drainage holes explained for first-time container gardeners comes down to one calm habit: check where the water goes before you plant. A pot with a clear exit path, a suitable potting mix, and a reachable saucer gives beginners a much better starting point.
Start with one container, water it thoroughly, and watch how it behaves on your real patio or balcony. Once you understand that pattern, choosing future pots becomes less about guessing and more about matching drainage, plant size, and your watering routine.