A first patio garden does not need a large collection of pots. Three containers are enough to learn light, drainage, watering, and placement without turning a small outdoor space into a maintenance problem.
The useful starting point is a compact plan: one purpose, one small setup, one weekly reset. That keeps the article practical for a reader who wants help today rather than a full renovation plan.
This approach also keeps the project honest. A reader can finish one useful change, notice what actually improved, and avoid turning a simple home decision into a stack of unused products.
Why this setup works
A beginner guide works better when it names the tradeoff early. The right first setup is usually smaller than the reader imagined, but it is also easier to finish, easier to clean up, and easier to improve later.
Drainage matters from the beginning; University of Maryland Extension’s container gardening guidance explains why containers need adequate holes or slits so roots are not left sitting in excess water.
Choose three jobs for three containers
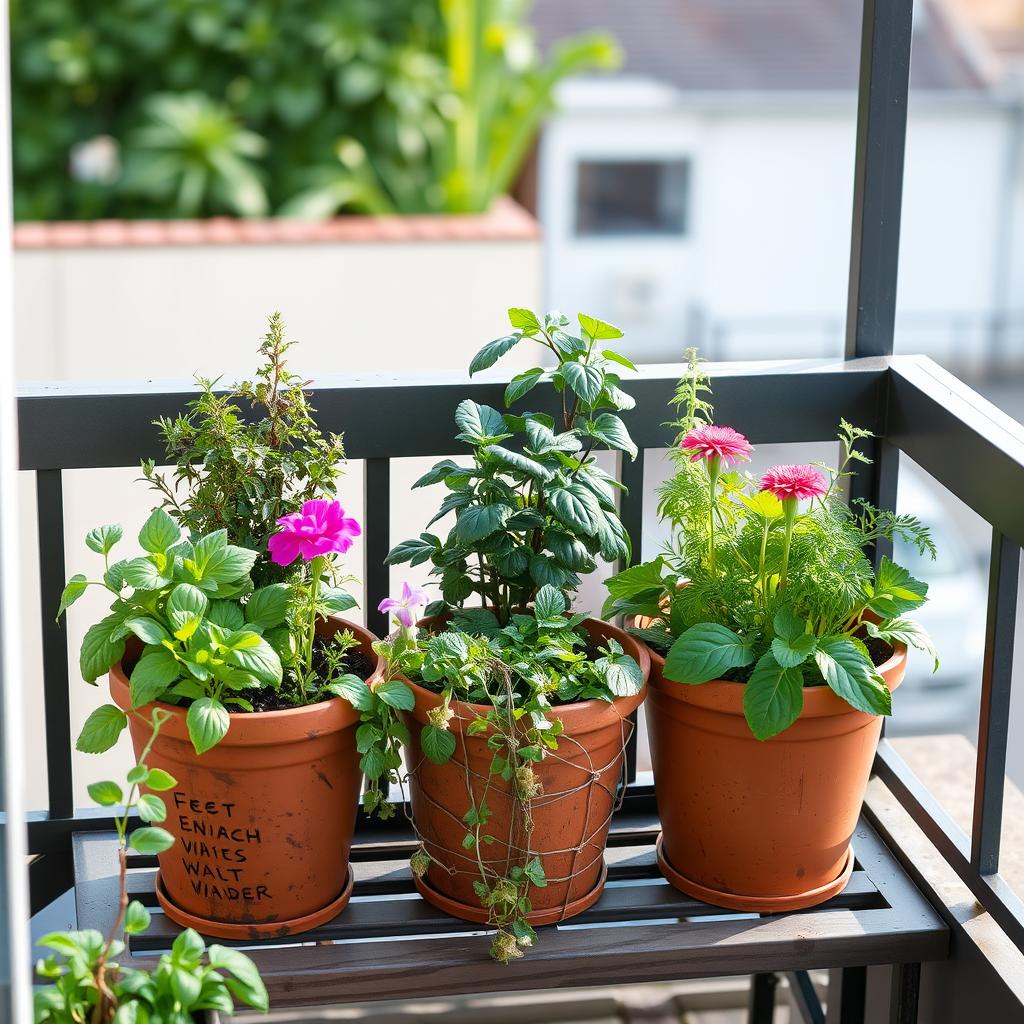
Use one container for a reliable herb, one for a compact flowering plant, and one for a simple edible or foliage plant suited to your light. This keeps the garden varied without making the care routine confusing.
Put water management before styling
A beautiful pot without drainage is a risk. Use containers that drain, place saucers thoughtfully, and check whether your patio surface needs protection from runoff or staining.
Watch the light for a full day
Small spaces often have changing shade from walls, railings, trees, and neighboring buildings. Track morning, midday, and afternoon light before choosing plants that need full sun.
Practical setup checklist
Before you buy anything
Pause long enough to check the boring details: the surface, the size, the weight, the light, the access path, and the cleanup routine. Most beginner frustration comes from skipping one of those details and then trying to force the setup to work anyway.
- Define the job: write down what this area or product is supposed to make easier.
- Measure before buying: check width, depth, height, clearance, weight, cord reach, light, or drainage before choosing gear.
- Read the instructions: product limits and exclusions matter more than a clean inspiration photo.
- Leave margin: a setup packed to the edge is harder to maintain than one with a little empty space.
- Reset weekly: a short recurring reset prevents the system from turning into a storage pile.
After the first week
Use the first week as a field test. If one step keeps getting skipped, simplify that step. If one item never returns to its assigned place, move the home closer to where the item is actually used. A good beginner system improves through small edits instead of one dramatic overhaul.
Pros and Cons
Low commitment
Three containers are enough to learn without crowding the patio.
Easy to troubleshoot
If one plant struggles, the whole garden is not lost.
Flexible layout
Containers can move as you learn the light pattern.
Watering is more frequent
Containers dry faster than in-ground beds.
Plant choice is local
Climate, sun, wind, and building rules all affect what works.
Frequently Asked Questions
Do I need expensive planters?
No. Start with sturdy containers that drain well and are sized for the plant’s roots.
What should beginners grow first?
Herbs and compact annuals are forgiving choices when matched to the available light.
Can I garden on a balcony?
Usually, but check weight limits, drainage rules, wind exposure, and building guidelines first.
Final Thoughts
First Patio Garden: How to Start With Three Easy Containers should feel calm, repeatable, and honest about limits. Start with one useful change, keep the setup easy to reset, and let the next improvement come from what you learn in daily use.
The quiet advantage of this method is that it gives readers a practical stopping point. Once the first setup works for a normal week, they can repeat the same thinking in another area instead of starting from scratch.